Epoxy Flooring Tips & Expert Guides
Practical advice from the team behind 5,000+ installations — covering everything from costs ($3–$12/sq ft) to finish selection, installation walkthroughs, and long-term maintenance. All in plain language.
Need personalized advice? Talk to our team →
All Articles
How Much Does Epoxy Flooring Cost? (2026 Guide)
Real price ranges by project type — residential, garage, commercial, and industrial. What's included and what drives cost up or down.
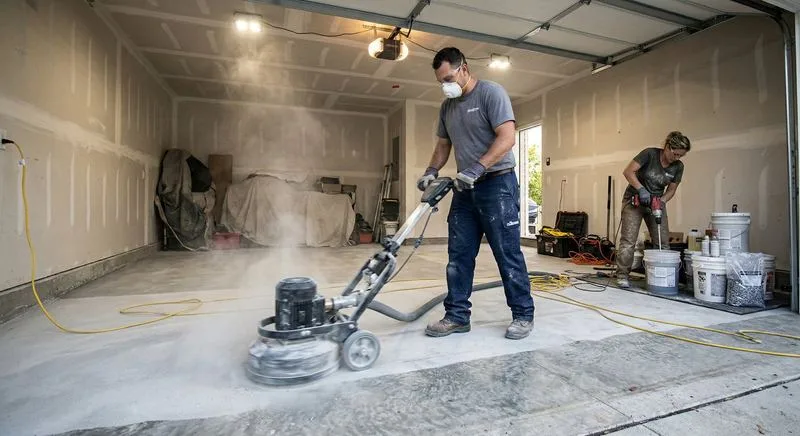
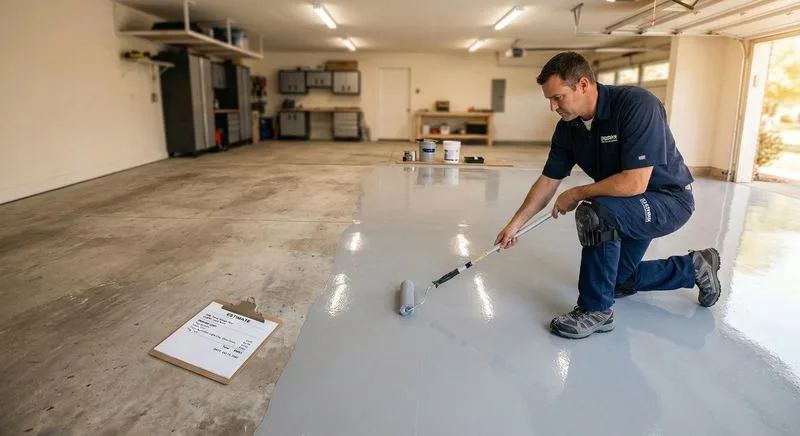
What to Expect During Your Epoxy Installation
A step-by-step walkthrough of professional epoxy flooring installation — from surface prep to final walkthrough.
7 Unbeatable Advantages of Epoxy Floors
Why epoxy flooring continues to grow in popularity — plus a few things to keep in mind before you commit.
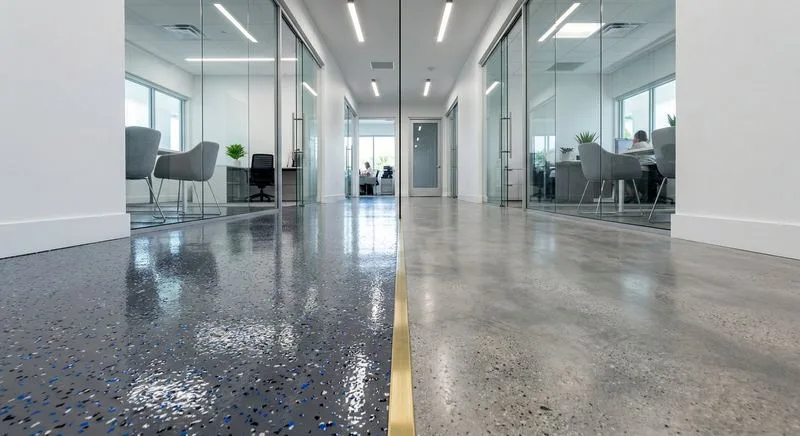
Epoxy vs. Polished Concrete: Which Is Right for You?
A side-by-side comparison of cost, durability, appearance, and maintenance to help you make the right choice.
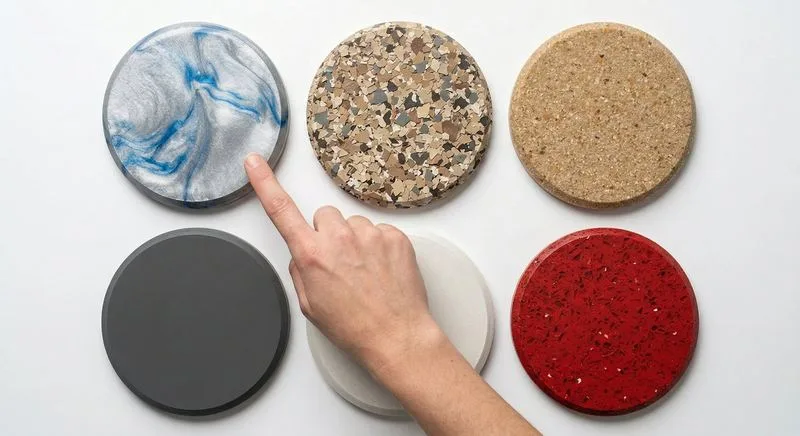
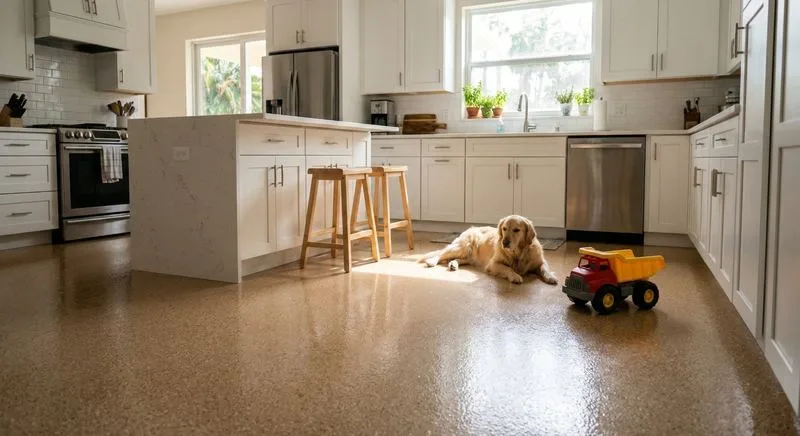
Best Epoxy Floor Colors & Finishes for 2026
Metallic, flake, quartz, solid — see what's trending and which finish works best for your space and style.
DIY Epoxy vs. Professional Installation: The Real Difference
Why 70% of DIY epoxy jobs fail within 2 years — and what professional installers do differently.
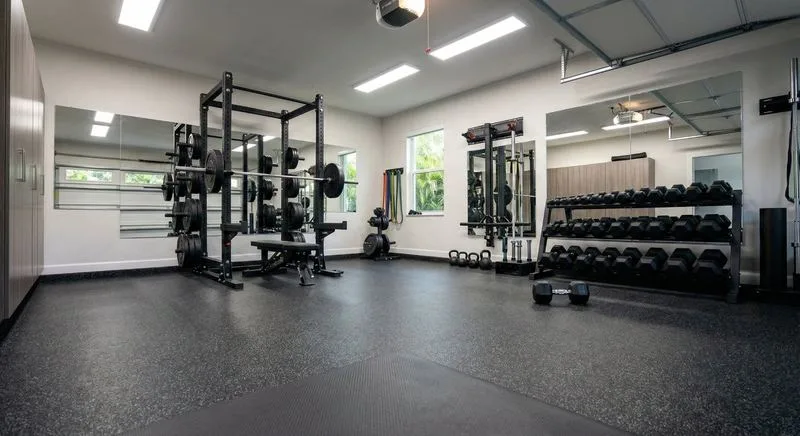
Epoxy Flooring for Home Gyms: What You Need to Know
The best finishes for dropped weights, heavy racks, and rubber mats — plus slip resistance and cleaning tips.
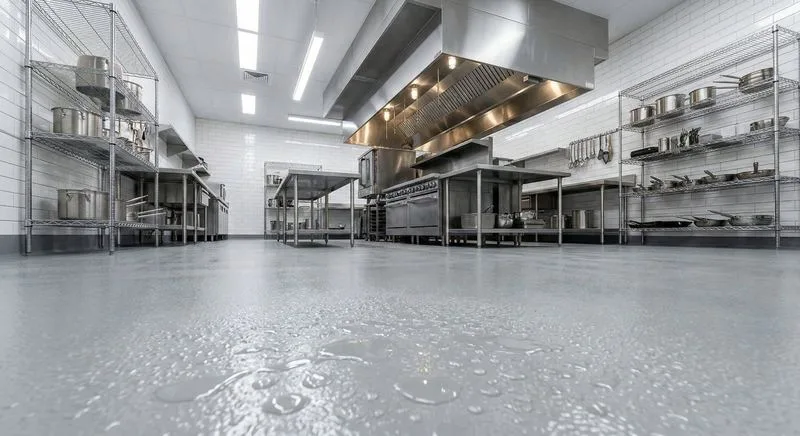
Commercial Kitchen Flooring: A Facility Manager's Guide
Health code compliance, slip resistance, chemical resistance, and sanitation — what every kitchen manager needs to know.
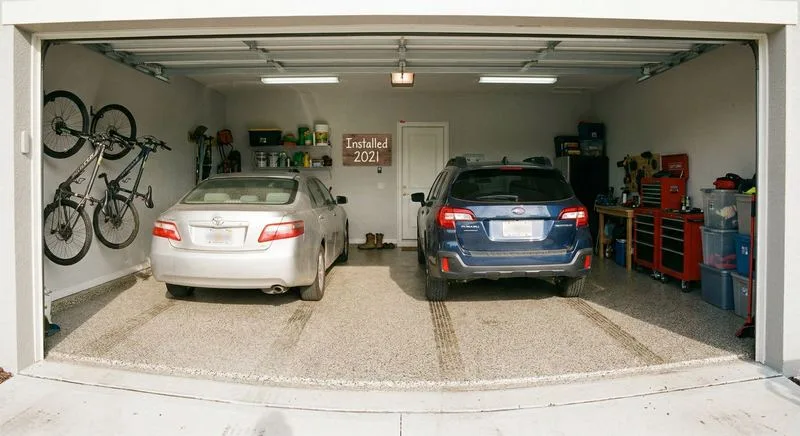
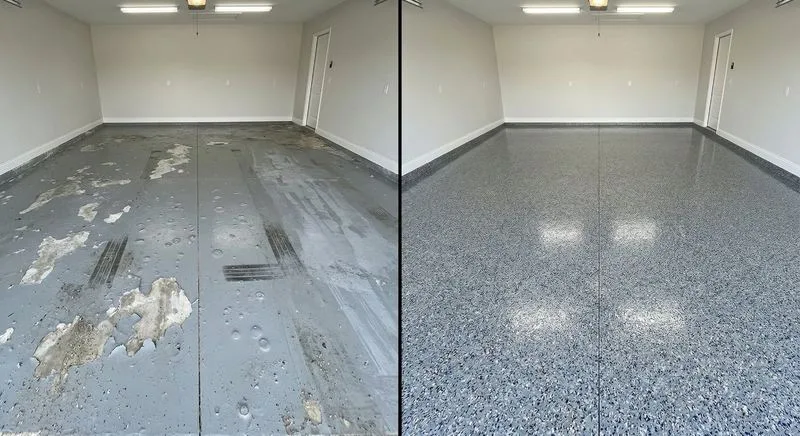
How Epoxy Floors Hold Up After 5 Years (With Photos)
Real results from real customers — see how professionally installed epoxy looks after years of daily use.
Ready to Transform Your Floor?
Get a free, no-obligation quote from your local Ascent Epoxy team. Most projects start within 2 weeks.